Storyboards, Scenes and View Controllers
Update note: This tutorial has been updated for Xcode 9, iOS 11, and Swift 4 by Nicholas Sakaimbo. The original tutorial was written by Matthijs Hollemans.
Storyboards are an exciting feature first introduced in iOS 5 that save time building user interfaces for your apps. Storyboards allow you to prototype and design multiple view controller views within one file.
[…]
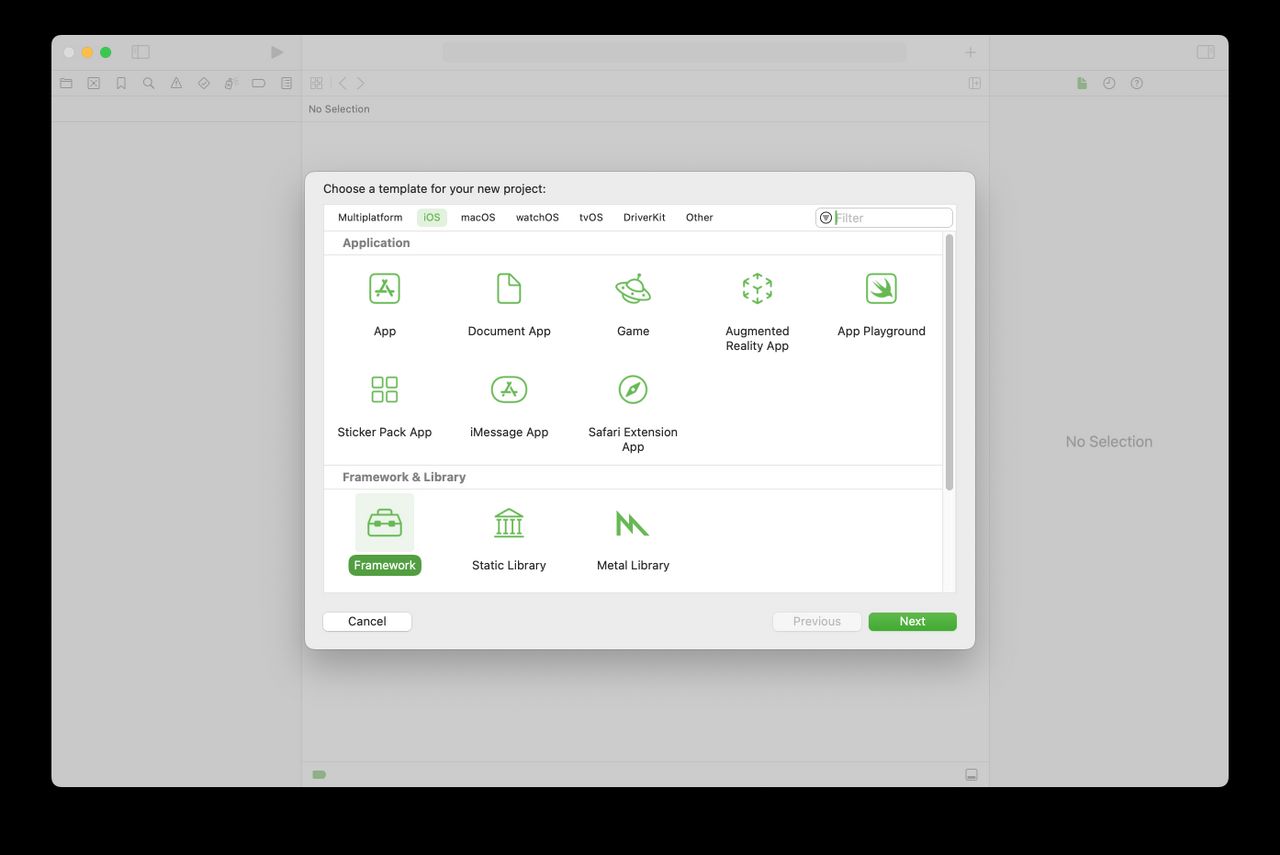
Open Xcode and create a new project. Use the Single View Application template as the starting point.
[…]
Once created, the main Xcode window should look like the following:
The new project consists of three files, AppDelegate.swift, ViewController.swift, and the star of this tutorial: Main.storyboard.
[…]
The single view controller you defined was set as the Initial View Controller – but how did the app load it? Open AppDelegate.swift to find the answer:
[…]
Xcode comes with a template for building a tabbed app (called the Tabbed Application template). You could have used it, but it’s good to know how this works so you can create a Tab Bar Controller by hand if you have to.
[…]
Add a new file to the project. Choose the Cocoa Touch Class template under iOS/Source. Name the class PlayersViewController and make it a subclass of UITableViewController. Uncheck Also create XIB file. Choose the Swift language and hit Next followed by Create.
[…]
The table view should display a list of players, so now you’ll create the main data model for the app – an array containing Player objects. Add a new file to the project using the Swift File template under iOS/Source and name the file Player.
[…]
Next, create a new file using the Swift File template named SampleData. Replace the contents of SampleData.swift with the following:
[…]
Next, open PlayersViewController.swift and replace the contents of the file with the following:
[…]
Now you’ve an array full of Player objects, continue hooking up the data source in PlayersViewController. Still in PlayersViewController.swift, add the following extension to the end of the file:
[…]
Now you’ve hooked up the properties, you can simplify the data source code a bit. Open PlayersViewController.swift, and change tableView(_:cellForRowAt:) to the following:
[…]
If you felt lost at any point during this tutorial, you also might want to brush up on the basics with our iOS Apprentice series. In that series, you’ll learn the foundational knowledge you need as an iOS developer from the ground up — perfect for complete beginners, or those looking to fill in some gaps.
[…]


