Learn how to make your apps use Adaptive Layout!
Update 6/20/17: This tutorial was updated to iOS 11, Xcode 9, and Swift 4 by József Vesza. The original tutorial was written by Sam Davies.
The introduction of Adaptive Layout caused a huge paradigm shift for iOS app designers. When designing your app, you can now create a single layout, which works on all current iOS devices – without crufty platform-specific code!
This tutorial serves as your introduction to Adaptive Layout. You’ll learn about universal storyboards, size classes, layout and font customizations and the improved Interface Builder, which will help you along the way.
[…]
Universal Storyboards are the first step on your journey towards Adaptive Layout. The same storyboard can now be used for both iPads and iPhones. There’s no need to keep per-device storyboards in sync with each other – a monotonous process which can be fraught with error.
[…]
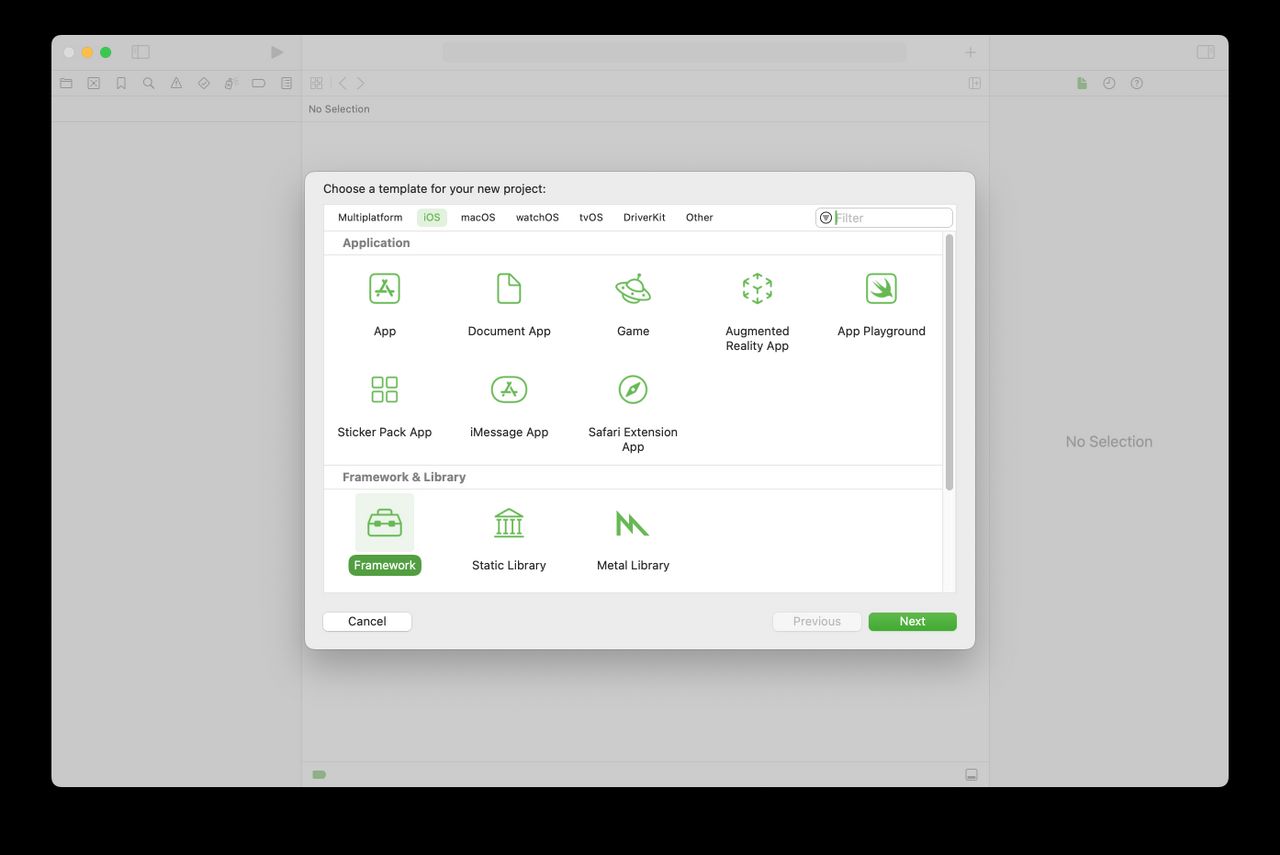
Set Product Name to AdaptiveWeather, and the Language to Swift. Make sure the tick boxes are all un-ticked, then click Next:
[…]
This option is enabled by default for all new iOS projects. You can turn this option on yourself when upgrading your old projects to use the new storyboards.
[…]
Next, drag a View from the Object Library and place it below the image view. In the Size Inspector, set the X position to 37 and the Y position to 340. Set the Width to 300 and the Height to 265:
Select the view you just added, open the Identity Inspector and enter TextContainer in the Label field. Note that the Document pane might be collapsed – if so press the Show button to reveal it. This gives the view a name and makes it easier to see in the Document Inspector. This view will eventually hold the city and temperature labels of your app.
It’s often hard to see views after dragging them in from the Object Library as their default background color is white, the same as the view controller’s view. To fix this, select the view controller’s view, open the Attributes Inspector and set its background color to #4AABF7.
Next, select the TextContainer view and set its background color to #3780BA.
Your view controller should now look like the screenshot below:
These two views are the only direct descendants of the view controller’s view; your task now is to give them some layout constraints.
[…]