Learn how to troubleshoot and optimize your code with Xcode Instruments!
Whether you’ve worked on many iOS apps or are still getting started with your first: you are no doubt coming up with new features and otherwise wondering what you can do to make your apps even better.
[…]
Note: This tutorial assumes you’re familiar with Swift and iOS programming. If you are a complete beginner to iOS programming, you may wish to check out some of the other tutorials on this site. This tutorial makes use of a storyboard, so make sure you’re familiar with the concept; a good place to start is with the tutorial on this site.
[…]
Download the starter project then unzip it and open it up in Xcode.
[…]
Paste it into the top of the FlickrAPI.swift file, replacing the existing API key.
[…]
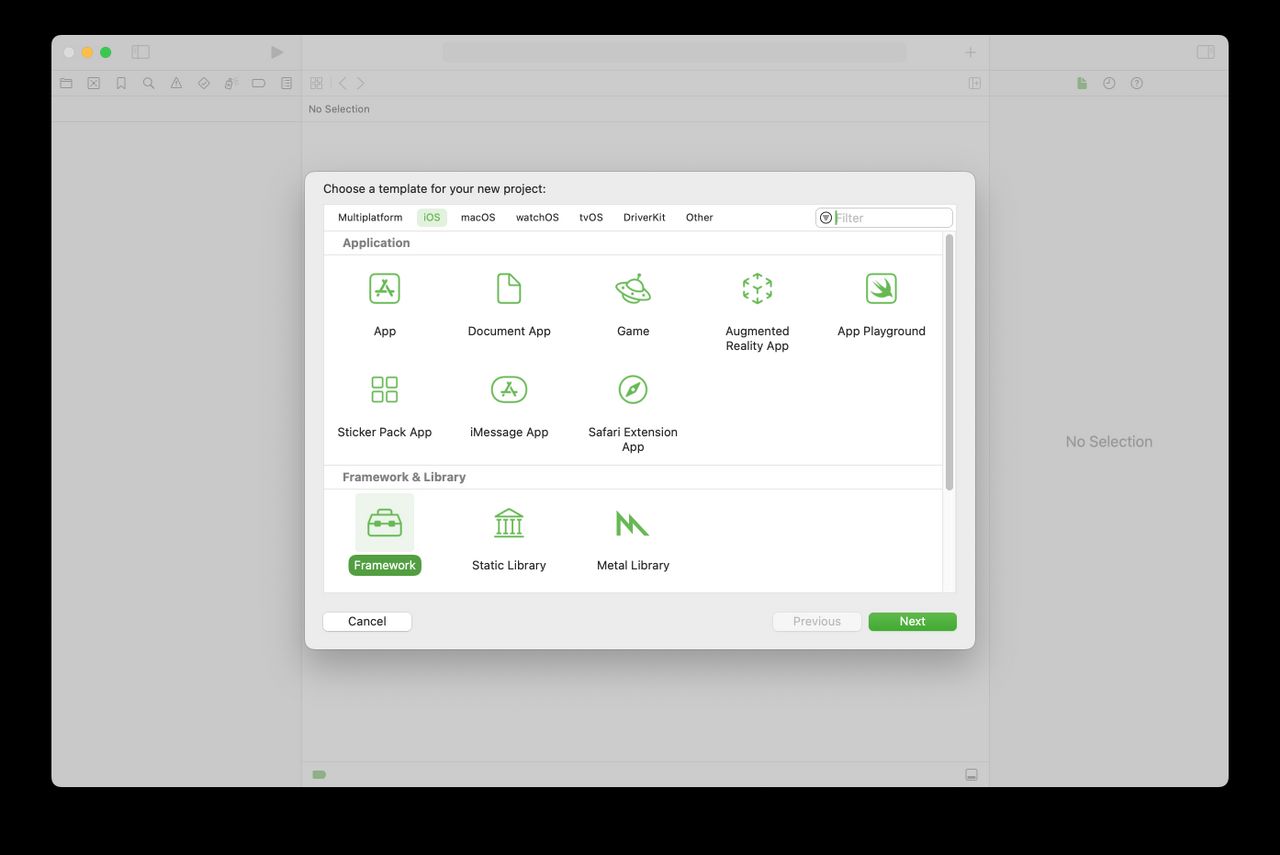
From Xcode’s menu bar, select Product\Profile, or press ⌘I. This will build the app and launch Instruments. You will be greeted with a selection window that looks like this:
[…]
You could now switch to Xcode and manually find the source file you’re looking at in Instruments, but there’s a handy Open in Xcode button right in front of your eyes. Locate it in the panel just above the code and click it:
There you go! Xcode opens up at exactly the right place. Boom!
[…]
Notice that this time Xcode doesn’t ask you for which instrument to use. This is because you still have a window open for this app, and Instruments assumes you want to run again with the same options.
[…]
Again, click the Open in Xcode button to jump back into Xcode. Open Cache.swift and take a look at the implementation of set(_:forKey:).:
[…]
To make ImageCache listen to the notification, open up Cache.swift and add the following initializer and de-initializer to the class:
[…]
To test this fix, fire up Instruments again (from Xcode with ⌘I) and repeat the steps you followed previously. Don’t forget to simulate a memory warning at the end.
Note: Make sure you launch from Xcode, triggering a build, rather than just hitting the red button in Instruments, in order to make sure you’re using the latest code. You may also want to Build and Run first before Profiling, as sometimes Xcode doesn’t seem to update the build of the app in the simulator to the latest version if you just Profile.
[…]
Close Instruments and head back to Xcode. Choose Product\Profile once again, and select the Allocations template.
[…]
Start the app directly from Xcode. Like before, perform at least 3 searches to accumulate some data.
[…]
In the Memory Inspector, you can see that the reference between the Swift closure context and the SearchResultsViewController is strong. If you select the reference between the SearchResultsCollectionViewCell and the Swift closure context, you will see that this is marked strong as well. You can also see that the closure’s name is “heartToggleHandler.” A-ha! This is declared in the SearchResultsCollectionViewCell class!
[…]